murals, we've got you covered. Transform your plain walls into a beautiful work of art
effortlessly, with easy-to-follow installation instructions. Need answers? Check out our FAQs for quick help!
FAQ's
Our decals, wallpapers, and murals are primarily made with latex vinyl. All materials are non-toxic, and our ink is eco-friendly. In addition, we constantly strive to make our warehouse operations as sustainable as possible
We source our vinyl from Avery Dennison’s Oracal 631 to ensure quality and safety standards are met. As indoor family products, all of our materials are specifically designed with safe usage in mind.
However, we still encourage customers to read through the website information prior to making a purchase. Your satisfaction and wellbeing are important to us!
Go you! You are a decorating master. As hard as this may be for a checklist queen like yourself, we suggest allowing 30 days before decal or wallpaper application on a freshly painted wall. The paint needs to curate before the decals are applied. The last thing you want is for a decal to curate with your paint, thus damaging the wall when you eventually decide to swap ‘em out for a fresh look.
As long as the material matches the wall texture (smooth or textured) and the walls are clean and dry before application, the decals will adhere to the walls! It’s worth noting that our products work best if there is ventilation in humid environments (like during showers), so be sure to crack a window or turn on the fan and you should be just fine!
Removing your vinyl wall decals or wallpaper may seem daunting, but it’s even easier than it was to install them in the first place!
1. Use a hairdryer.
It sounds a little crazy, but aim a hairdryer a few inches from your decal or wallpaper corner. The warm heat will loosen the adhesive, making peeling easy.
2. Start at the corner and peel.
If you have trouble getting it to peel up at first, use a butter knife or something with an edge that you can slide under to help you grip enough of the vinyl in order to pull. Peel slowly at a 45-degree angle.
3. Peel slowly.
Continue to aim the hairdryer at the next section as you slowly peel, allowing the warm air to loosen the adhesive as you go.
4. Repeat.
Feel free to tear the decals into small sections if it makes it easier to remove the excess vinyl as you go from your work area.
Boom! You’ll be looking at a clean wall ready for new decals in no time!
There’s an easy way to find out! Simply run your hand up and down the wall. Does it feel smooth or is there a slight variation or bumpiness? If you feel some bumpiness, you have textured walls! Drywall is a classic example of a “smooth” texture whereas plaster and stucco are often textured. If you live in the American Southwest, there’s a good chance your walls may be textured. The best way to know for sure is to order a sample of our products to see what sticks! Or, feel free to send us a picture of your wall and we can help you!
We absolutely recommend trying one of our samples before you buy a full pack, but please keep in mind our sample decals are smaller and thus may stick a little differently than a large-scale design. – Click here to test out our samples!
Here is an article that addresses which surfaces we classify as textured.
Our decals are designed for a one-time application, they are removable, but unfortunately not reusable.
They can be removed easily with absolutely no damage to your walls. To make the process even easier, we suggest using a hair dryer to soften the adhesive.
While some customers have had luck with reusing them, they may not adhere as securely as during their initial installation due to the vinyl stretching upon removal.
For the best results, please read our instructions carefully and follow them closely. If you have any questions, don’t hesitate to reach out!
When determining how much wallpaper you’ll need for your space, we suggest measuring the width of the wall and adding 6 inches (for bleed). Then, divide that number by either 23 (standard) or 21 (textured) to determine the number of panels needed.
Example: If your wall measures 132 inches wide you would divide 138 by 23 – in this case, you’d need 6 panels. Therefore, it’s best to order 3 double rolls at your desired height.
If you need an odd number of panels we recommend using the excess material for a smaller project like lining a drawer or closet to tie the whole room together.
We do not control our print supplier’s ink hues and color changes, therefore, we cannot guarantee that our dye lot colors will be precisely the same as orders placed on different dates. It is especially important to keep this in mind when ordering samples before the full product, or if you find you need additional wallpaper panels at a later date. Slight color variations may occur in the same product purchased at different times.
For this reason, we suggest you order extra rolls at the beginning of your project, these can be used for DIY’s and other accent pieces if not needed in your overall design.
All peel and stick wallpapers and decals are classified as washable. Remove water-soluble stains and dirt with a damp cloth or sponge. Use only soapy water to clean, and avoid all abrasive cleaning agents. Do not rub or scrub the surface, or use brushes to clean.
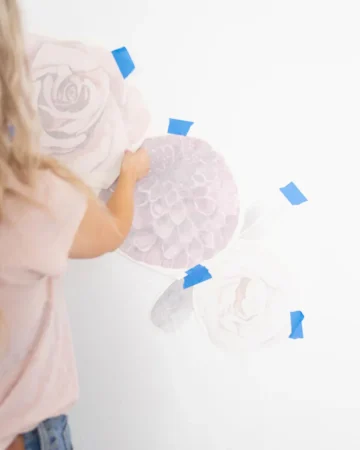
How Do I Avoid Damaging My Walls?
Peel and stick wall decor has become a popular choice for adding a personal touch to any room. Not only is it easy to install, but it also allows you to change up your style without the hassle of painting or drilling holes in your walls. However, as much as we love peel and stick wall decor, we also want to help our customers avoid any potential damage to their walls. Here are some things to consider before applying our products.
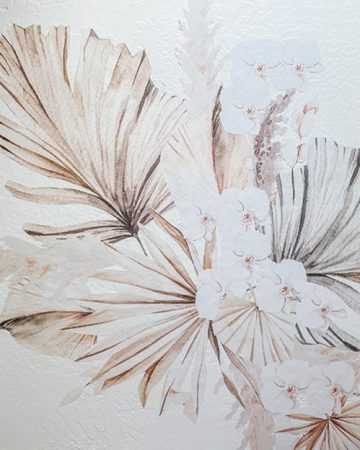
What Is The Difference Between Standard And Textured Vinyl?
If you're unsure which material is best for your space, don't worry! We are here to help. Our Murals, Wallpaper and select decals are available in both standard and textured vinyl - so you can find a product that perfectly fits the look and feel you're going for. We encourage all customers to double-check their material selection before checking out to ensure that you receive the item of your dreams!
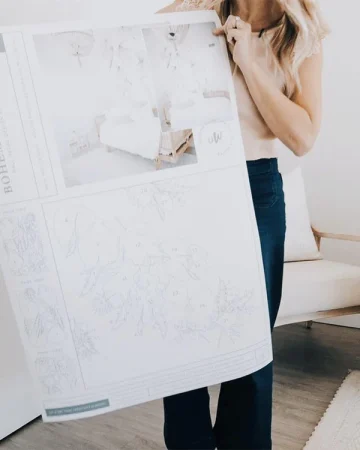
How Many Decals Do I Need?
The sky is the limit. Well, to be fair, the ceiling is probably the limit. But how many decals will fit in a specific space totally depends on your vision for spacing and placing them. Your best (and safest) bet would be to plot your design using a measuring tape and pencil to ensure you’re ordering the correct number of decals.
Installation Disclaimer
When purchasing our products, please make sure to read all installation instructions carefully. We cannot be held responsible for application errors and want your project to turn out perfectly! In addition to printed instructions, we also have videos available for you to view, with helpful tips and tricks. Before application, it is the buyer’s responsibility to make sure, if freshly painted, they give 4-5 weeks for their walls paint to be completely curated.


